Asgar’s Wedding Hair Tips For Spring 2015
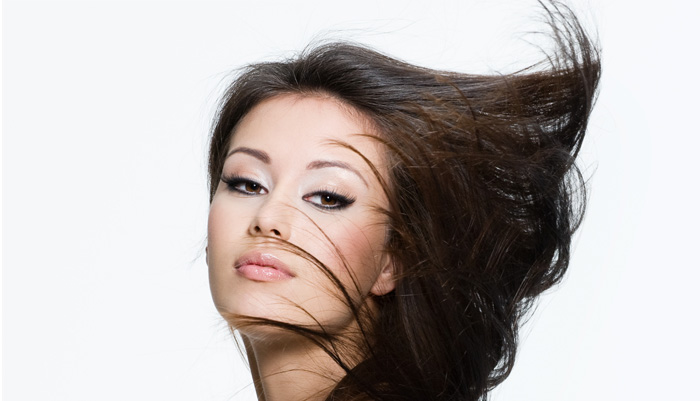
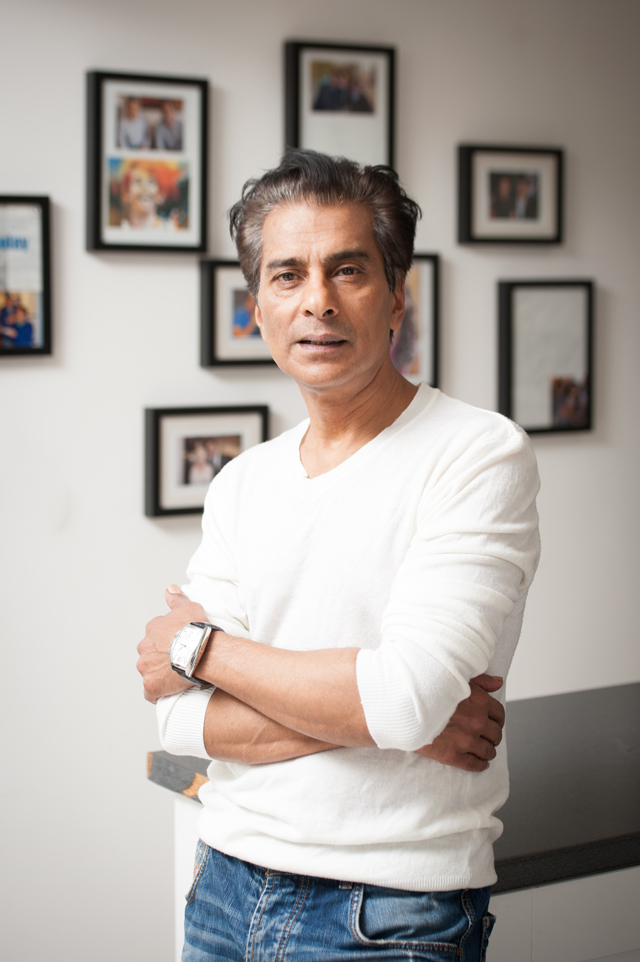
Wedding season is approaching quickly, and it is definitely the ideal time to start thinking of the perfect hair do for the big day. Celebrity hair stylist, Asgar Saboo always advises that you experiment a little before deciding on that final look. From the timeless up-do to some stunning curls, Asgar has compiled an assortment of bridal styles for Spring 2015.
.
Timeless up-do

The first thing you need to do before opting for any up-do is set your hair. you’ll give extra body to your hair and smooth any fly-aways at the same time, so that you’re starting fresh with polished strands
Directions:
1. Start on one side of your head and curl a section of hair that is around two inches thick.
2. Roll into a pin curl and hold in place with a duckbill clip. Notice that the curls are going in the direction away from your face.
3. Continue curling and pinning. You’ll ultimately create your five rows of pin curls around your head: One on each side of your head, then one next to each of those sections and one directly in the centre of your head. Keep the curls in place for at least 15 minutes.
4. Pull out the pin curls and comb through your hair with your fingers to shape the curls.
5. To get your hair completely ready for the up-do, pin your bangs or the front section of your hair back to help shape this section of hair, or to make it easier to go back to this section to style later.
.
Curly Down-do

Before starting the curling process, make sure you’ve found the right hairspray and mousse for your hair to give it that extra wedding glam.
Directions:
1. Start with wet hair, and brush in a nice handful of mousse, concentrating on the ends and bottom layer of my hair (since the bottom layer is next to the warmth of your back, and has the weight of the rest of your hair on it, it usually doesn’t hold curl as long as the top layers).
2. Then blow dry, being sure that it is completely 100% dry. Any wetness left will just make your hair not curl as well, so give it a minute or two of blow drying after your hair has dryed
3. Once hair is completely dry, clip up the top layers, so that only the bottom is exposed. You want to be sure you’re getting all the layers evenly curled, and it’s much easier to grab them if the higher layers are out of the way
4. Take about 1 to 1.5 inch section of hair, and lightly spray it with hairspray. Again, this is something you’ll want to experiment with, if you have more delicate hair, and your curling iron is turned up too high, this could cause burning.
5. Finally, after spraying the section of hair, quickly wrap it around the curling iron. Don’t grab the bottom of your hair with the iron and curl up, as this will just concentrate the curl at the bottom, and it will go flat more quickly. Instead grab the strand of hair with the iron about half way up, twisting the iron in your hands, and work your way down until the end is wrapped around the iron, and hold for a minute or two.
.
Braided Up-do

Medium to long, curly or wavy hair works best for this style: You’ll want the ends of your hair to curl up and around the bun
Directions:
1. Part your hair as desired. Don’t define your part past the crown of your head. On one side, separate your hair into three sections at your hairline and begin French braiding until you reach the nape of your neck. Complete the same process on the other side.
2. When you reach the nape of your neck, combine the two braids and complete the braid so that it becomes one braid when it’s below the nape of your neck. Secure the ends with a ponytail holder.
3. Twist the braid and hide the ends so it looks like a bun. Secure it to your head using bobby pins.
4. Spray everything with a light finishing spray